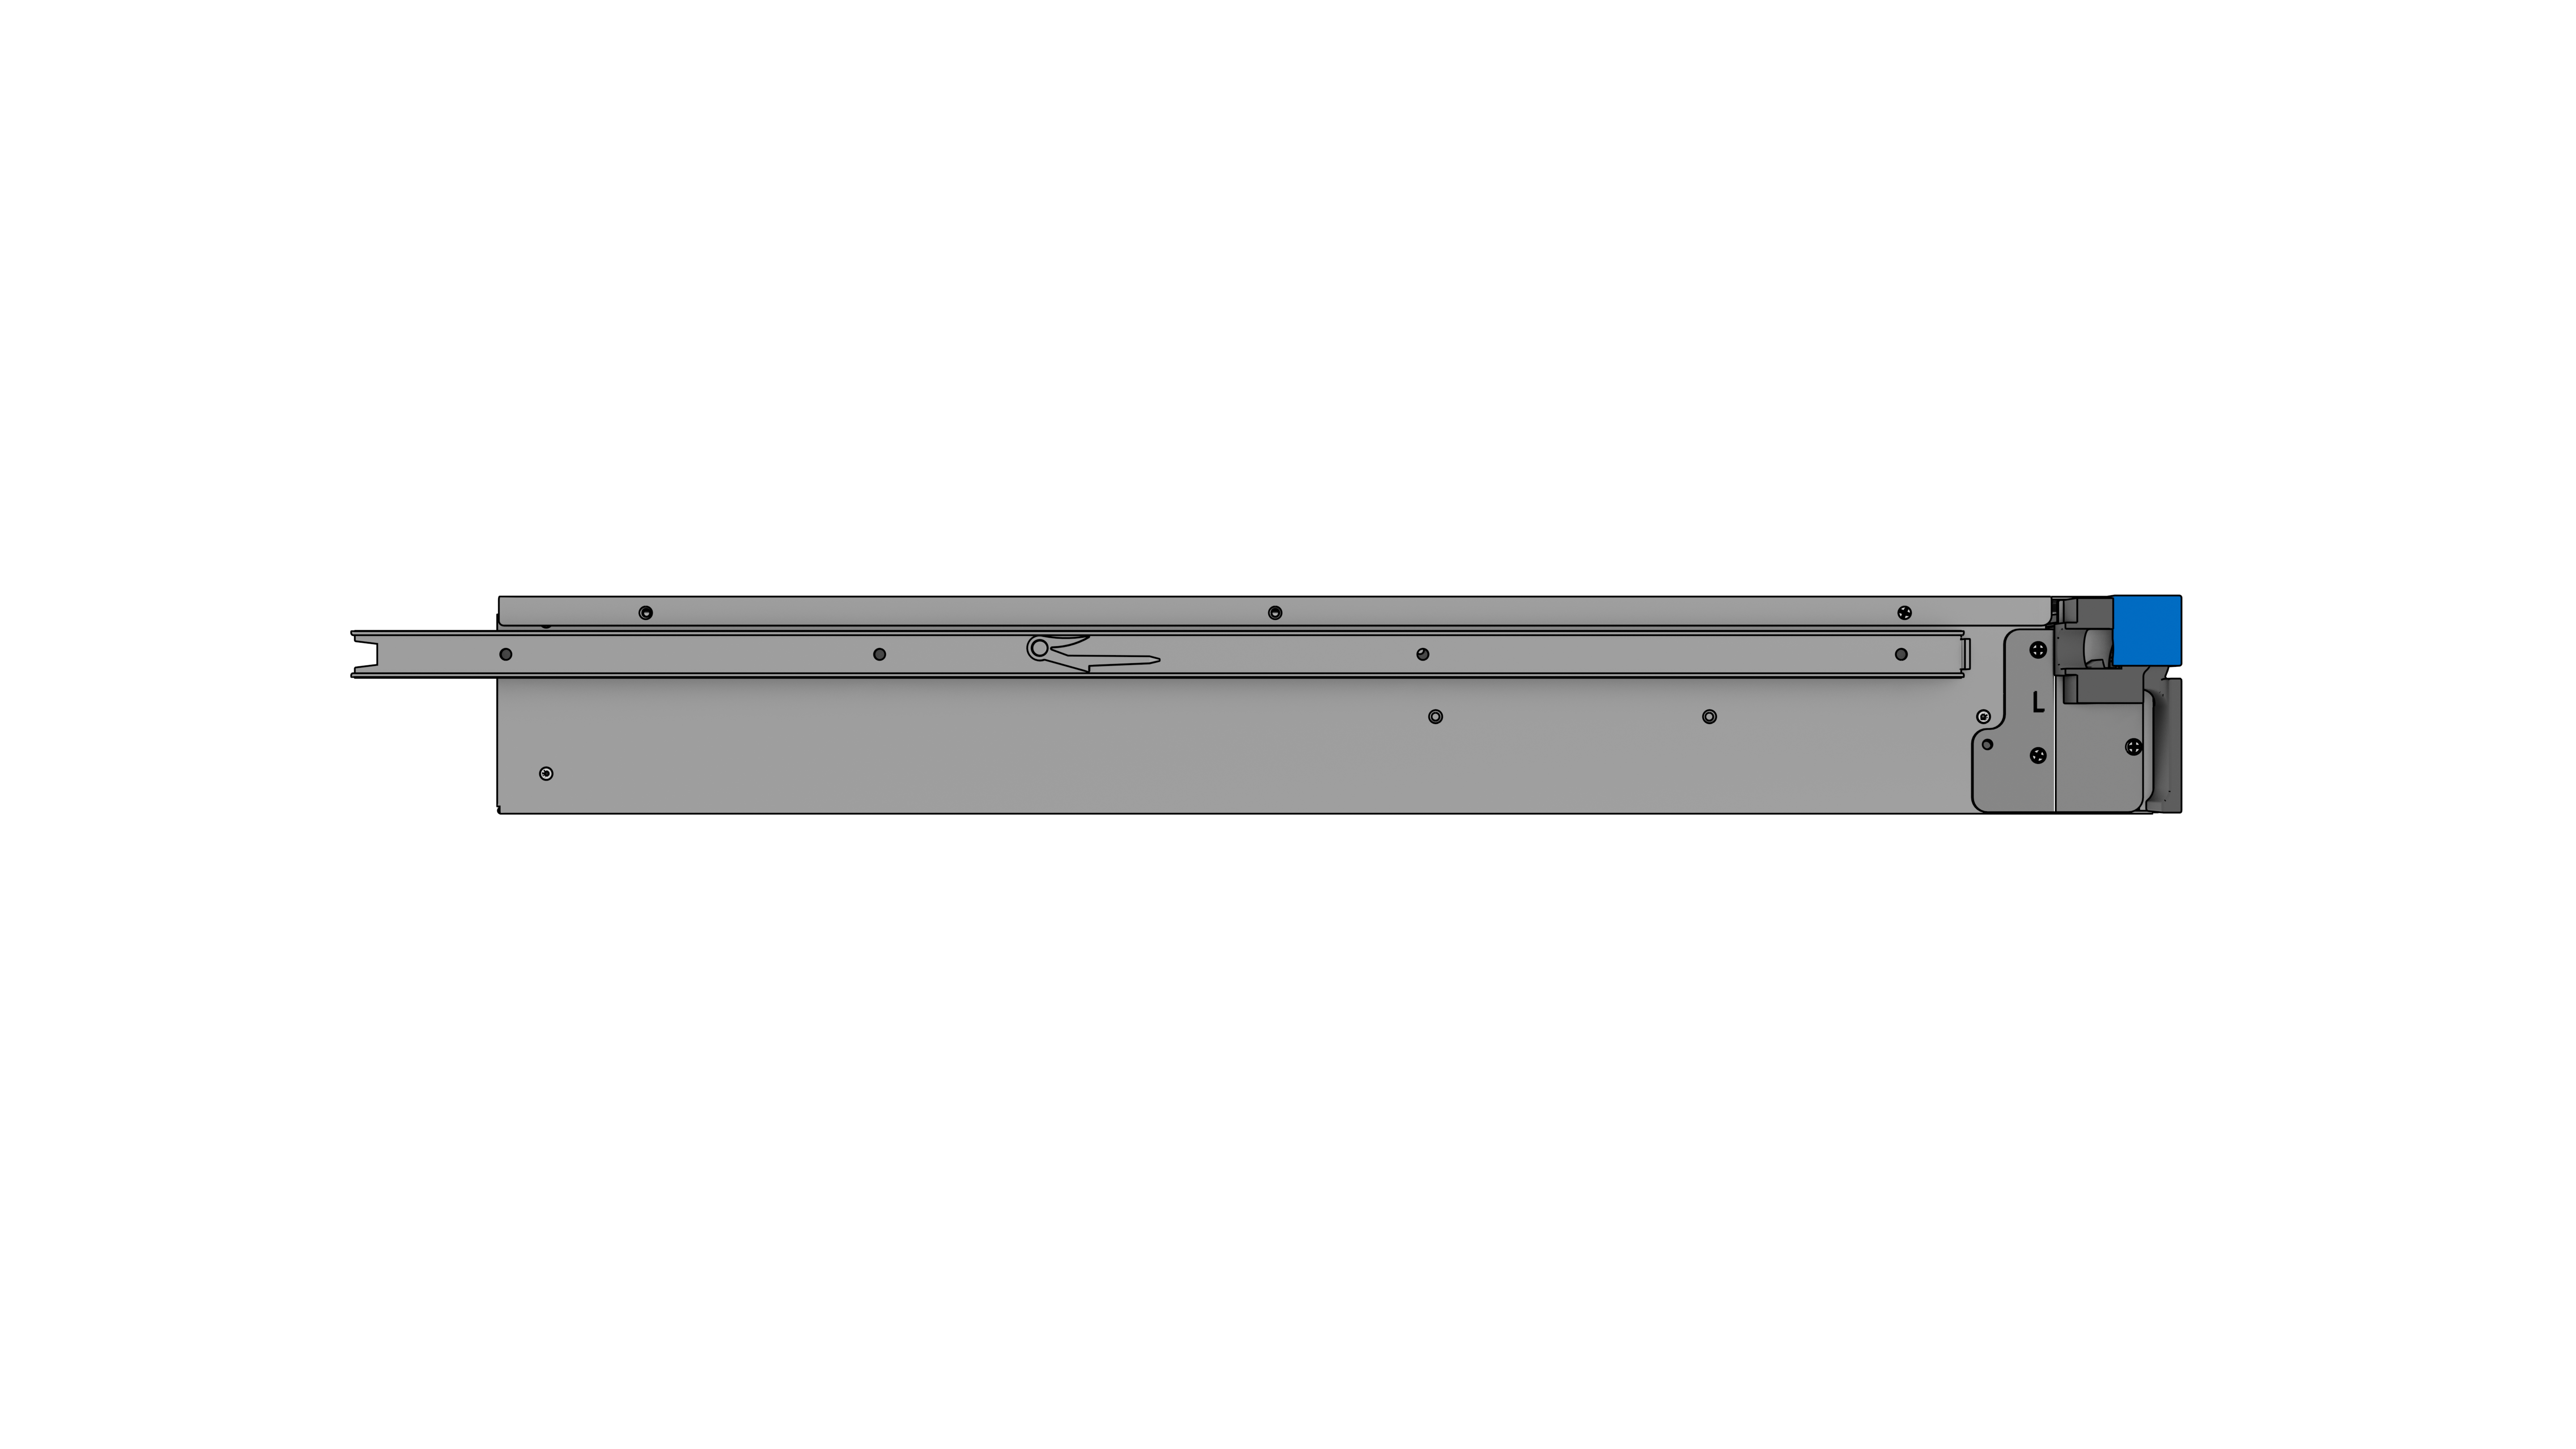
Disassemble rack rail
The rack rails must first be disassembled into two parts. To do this, proceed as follows:
-
➤ Pull the inner rail out of the outer rail until the release lever is visible.


-
➤ Operate the release lever to pull the inner rail out of the rail set.
Mount inner rack rail on the controller
-
➤ Attach the inner rail using the included screws on both sides of the Silent Brick Controller Pro.
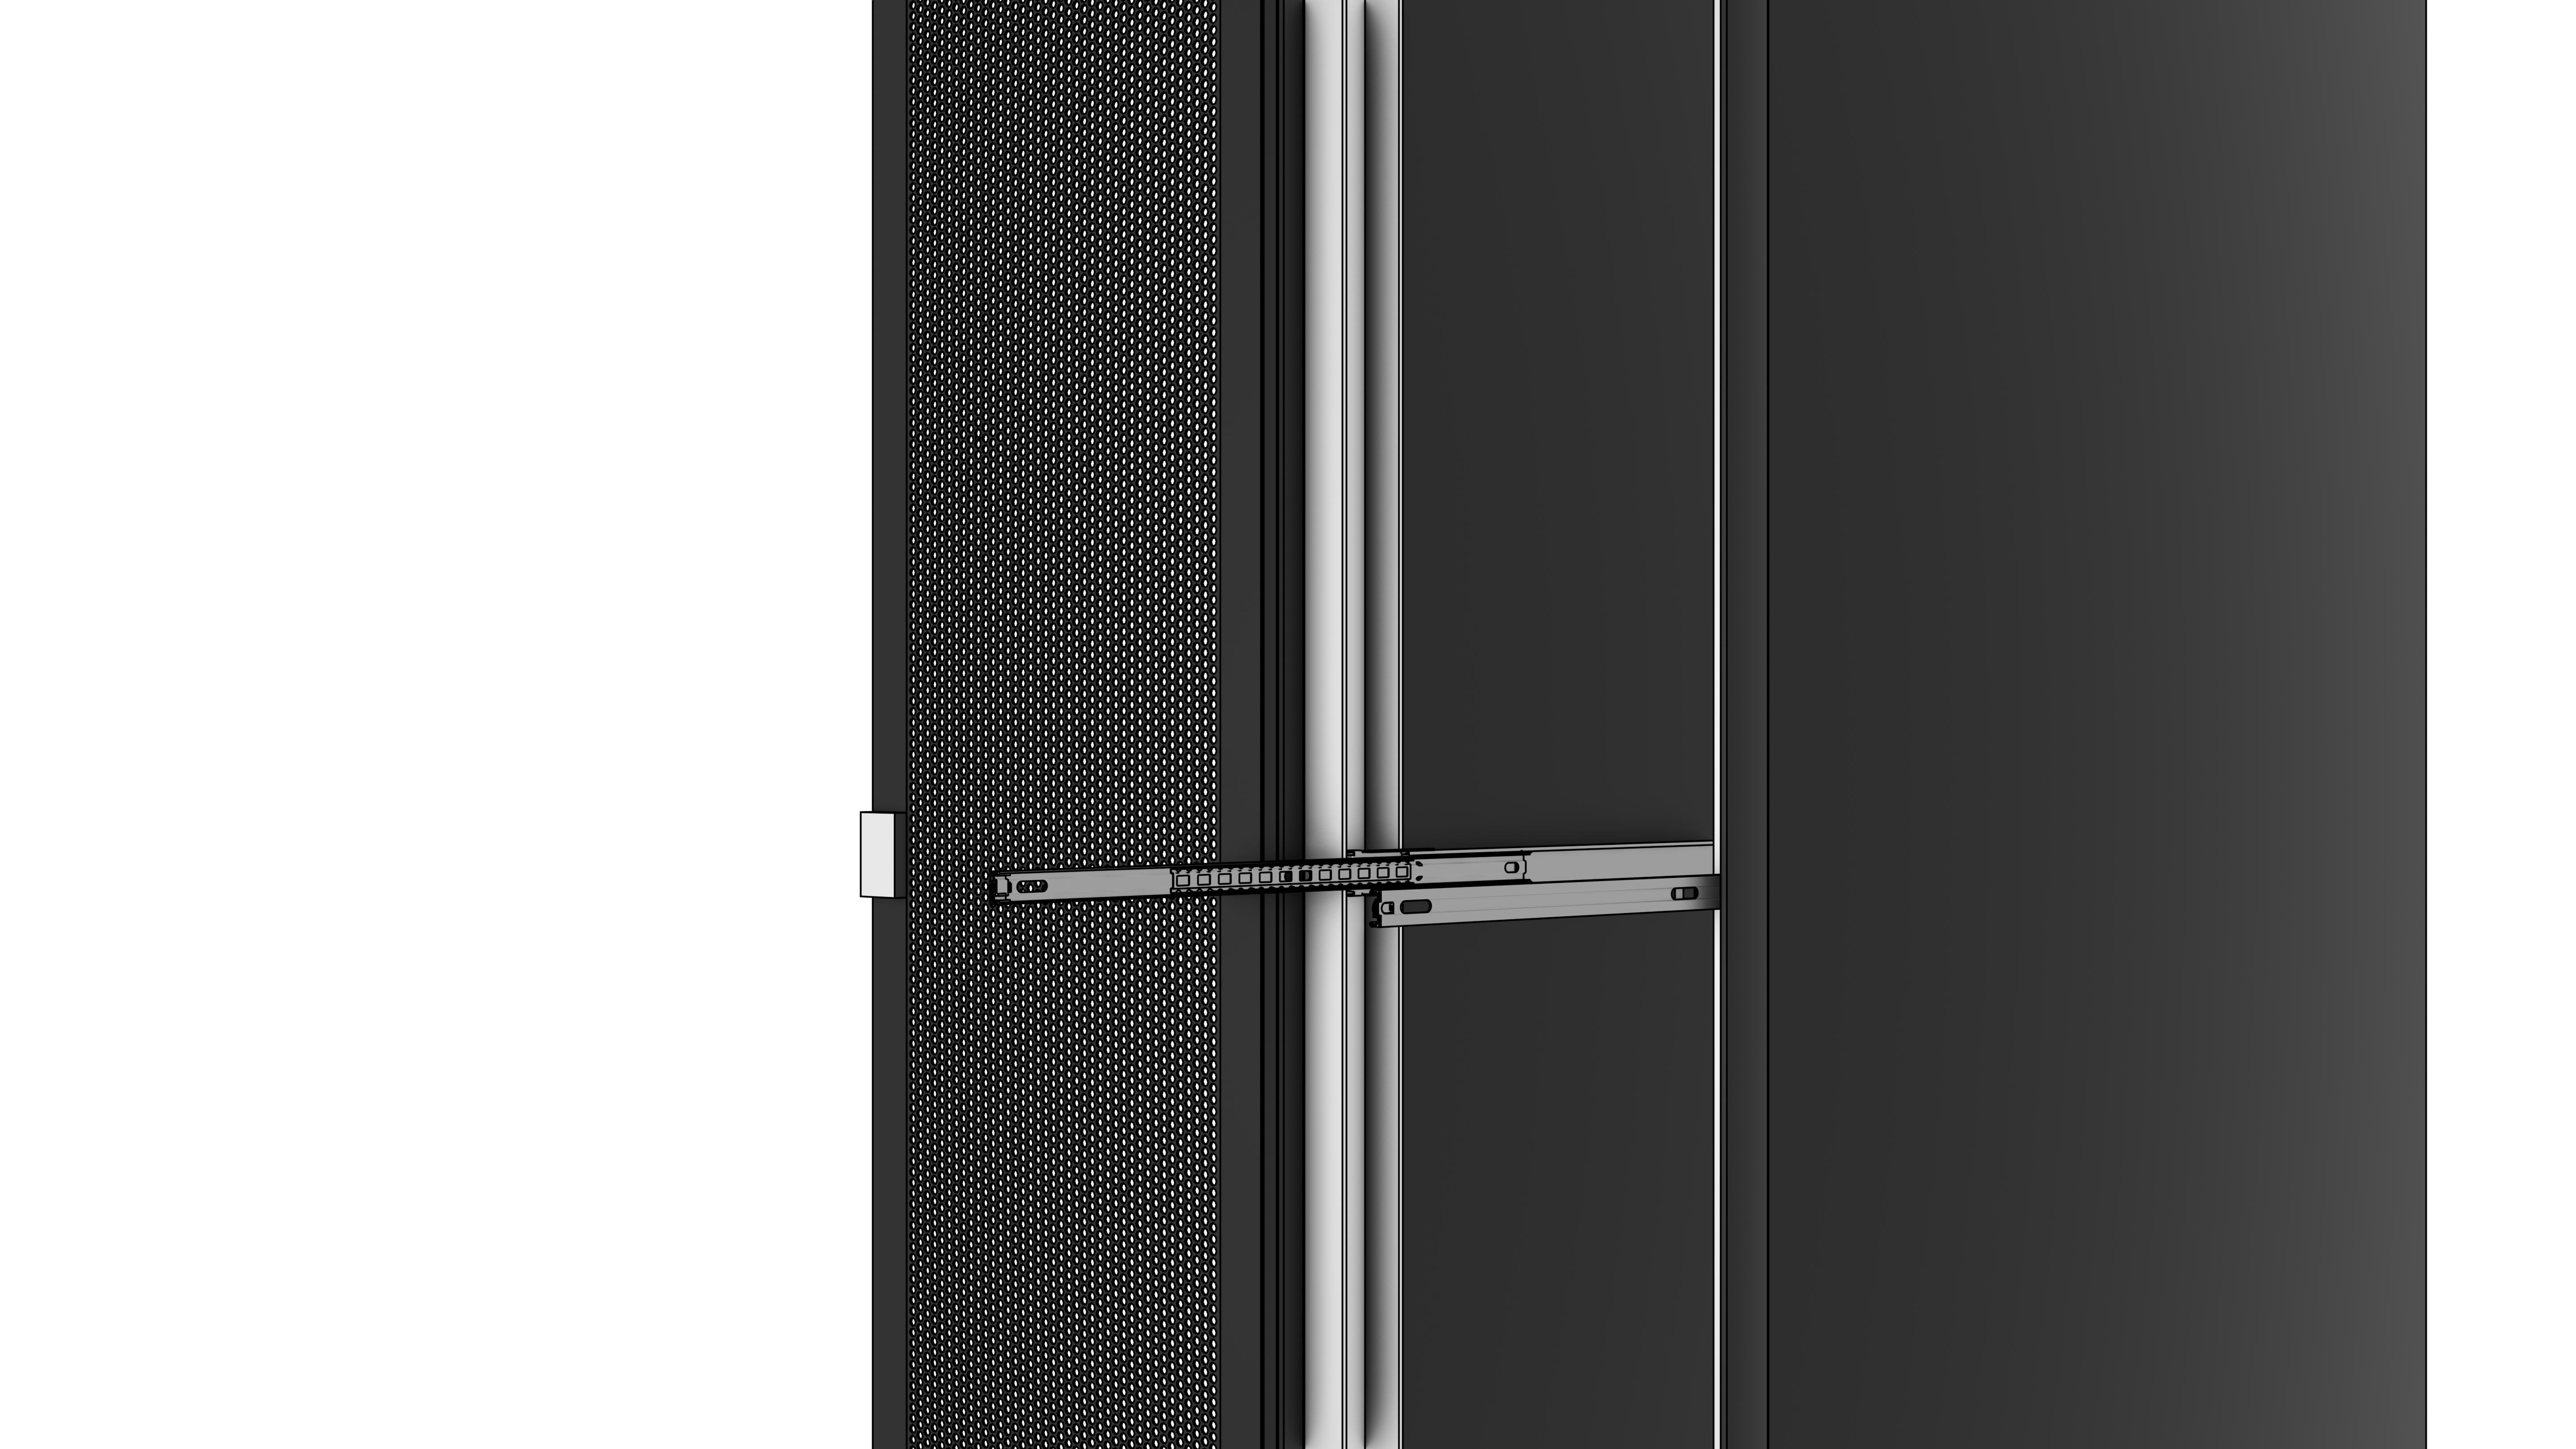
Mount the outer rack rail in the rack
-
➤ Use the included screws to mount the outer rails in the rack.
-
➤ Note that the locking bolts at the front of the rack must be used. These will later secure the Silent Brick Controller Pro in the rack.
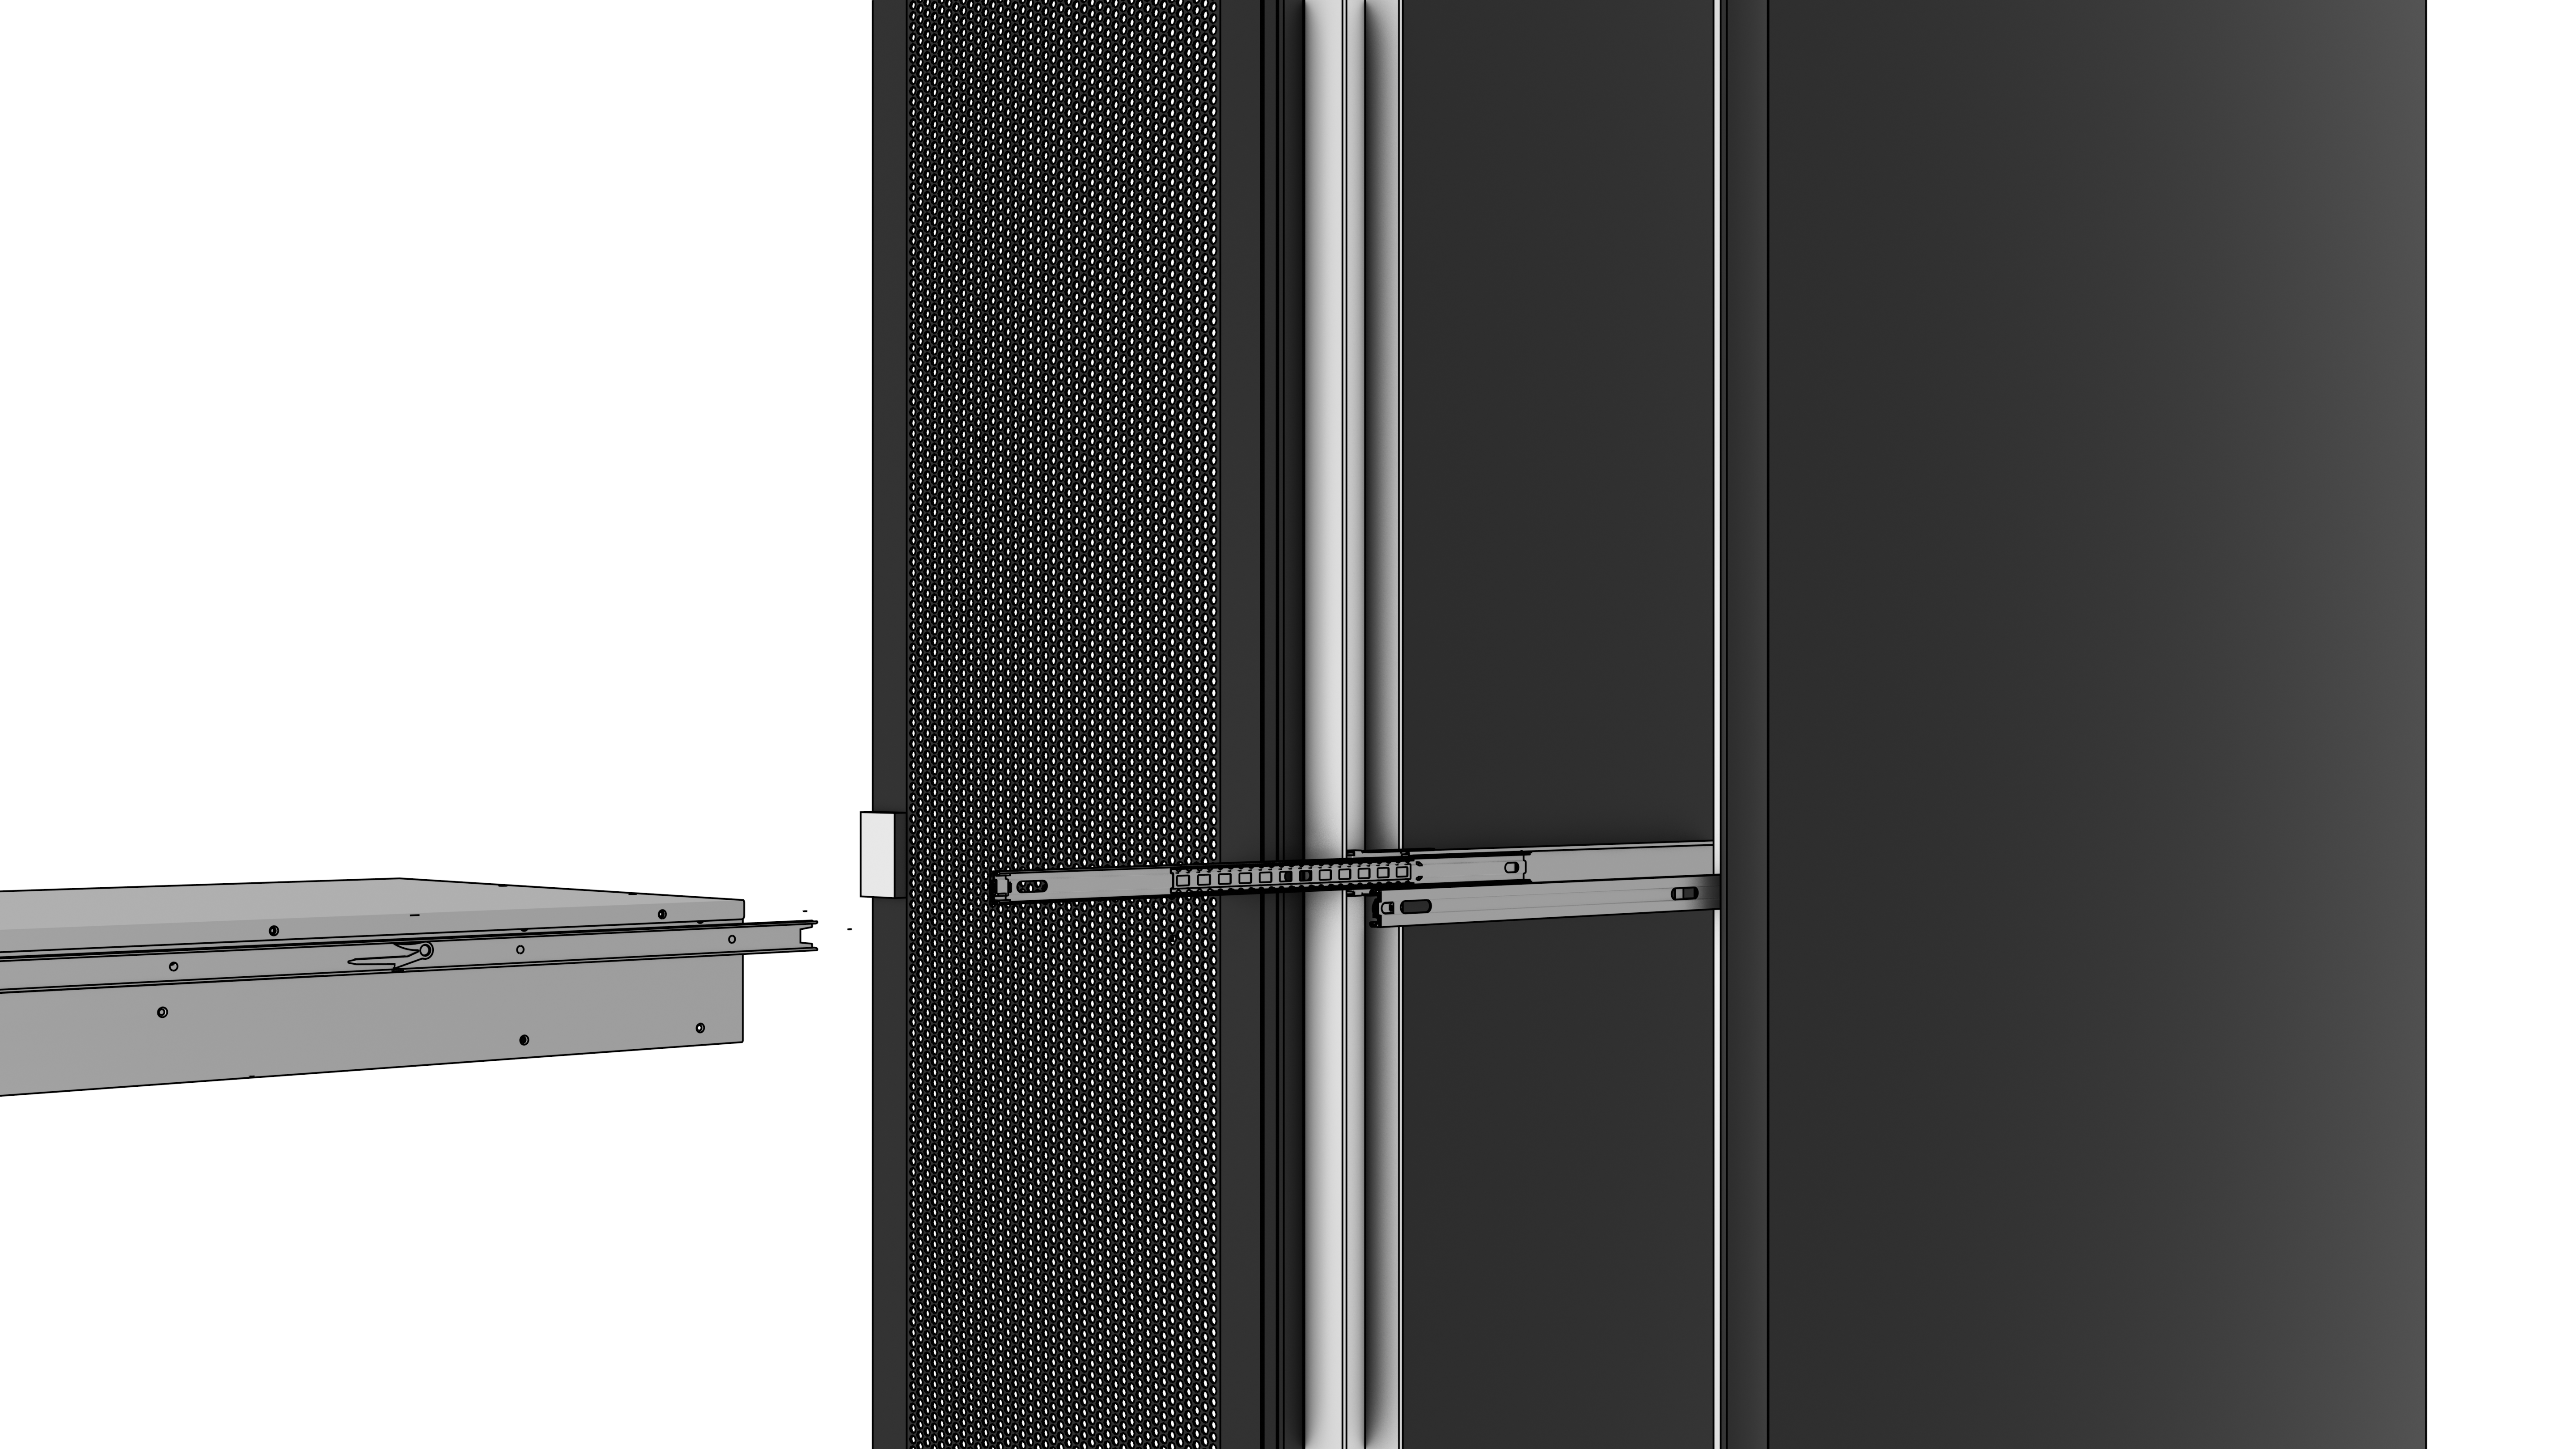
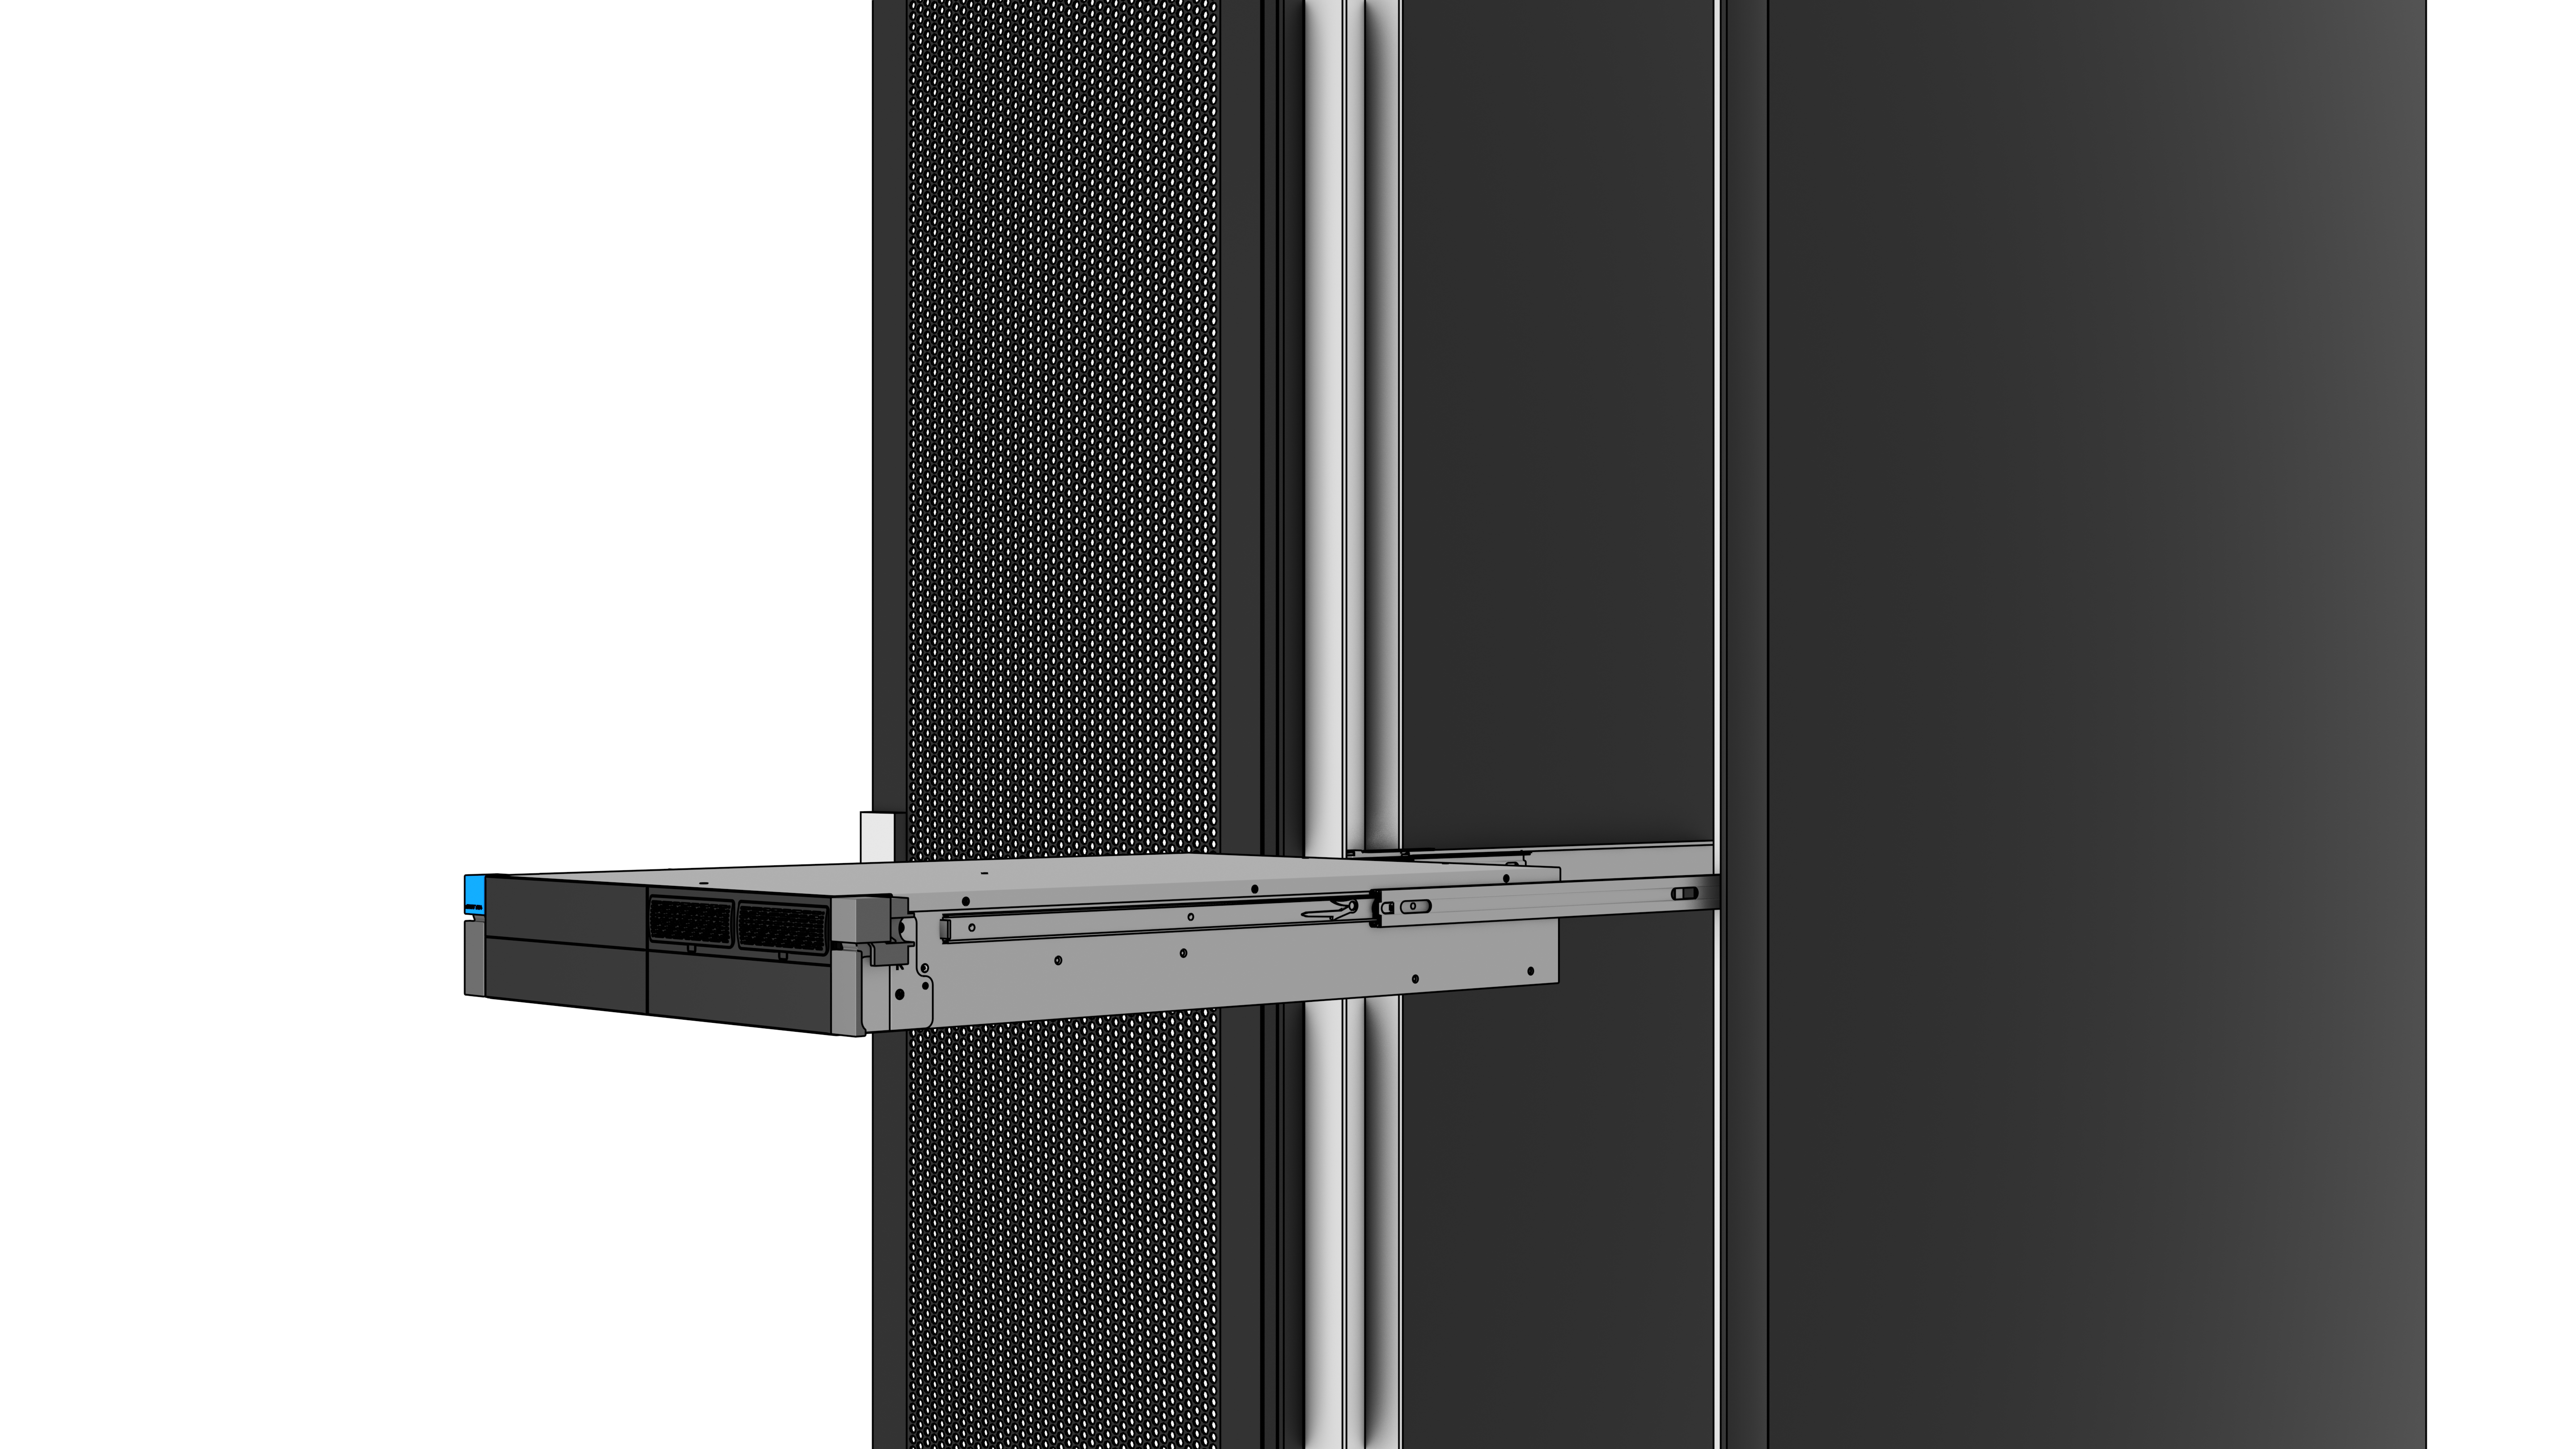
Insert Controller
-
➤ Now insert the controller into the guide using the side-mounted rails.
-
➤ After fully inserting the controller, both the guide rails and the locking mechanism of the controller will engage on the locking bolt.