Mount rack rails
Disassemble rack rails
The rack rails must first be disassembled into two parts. Proceed as follows:
-
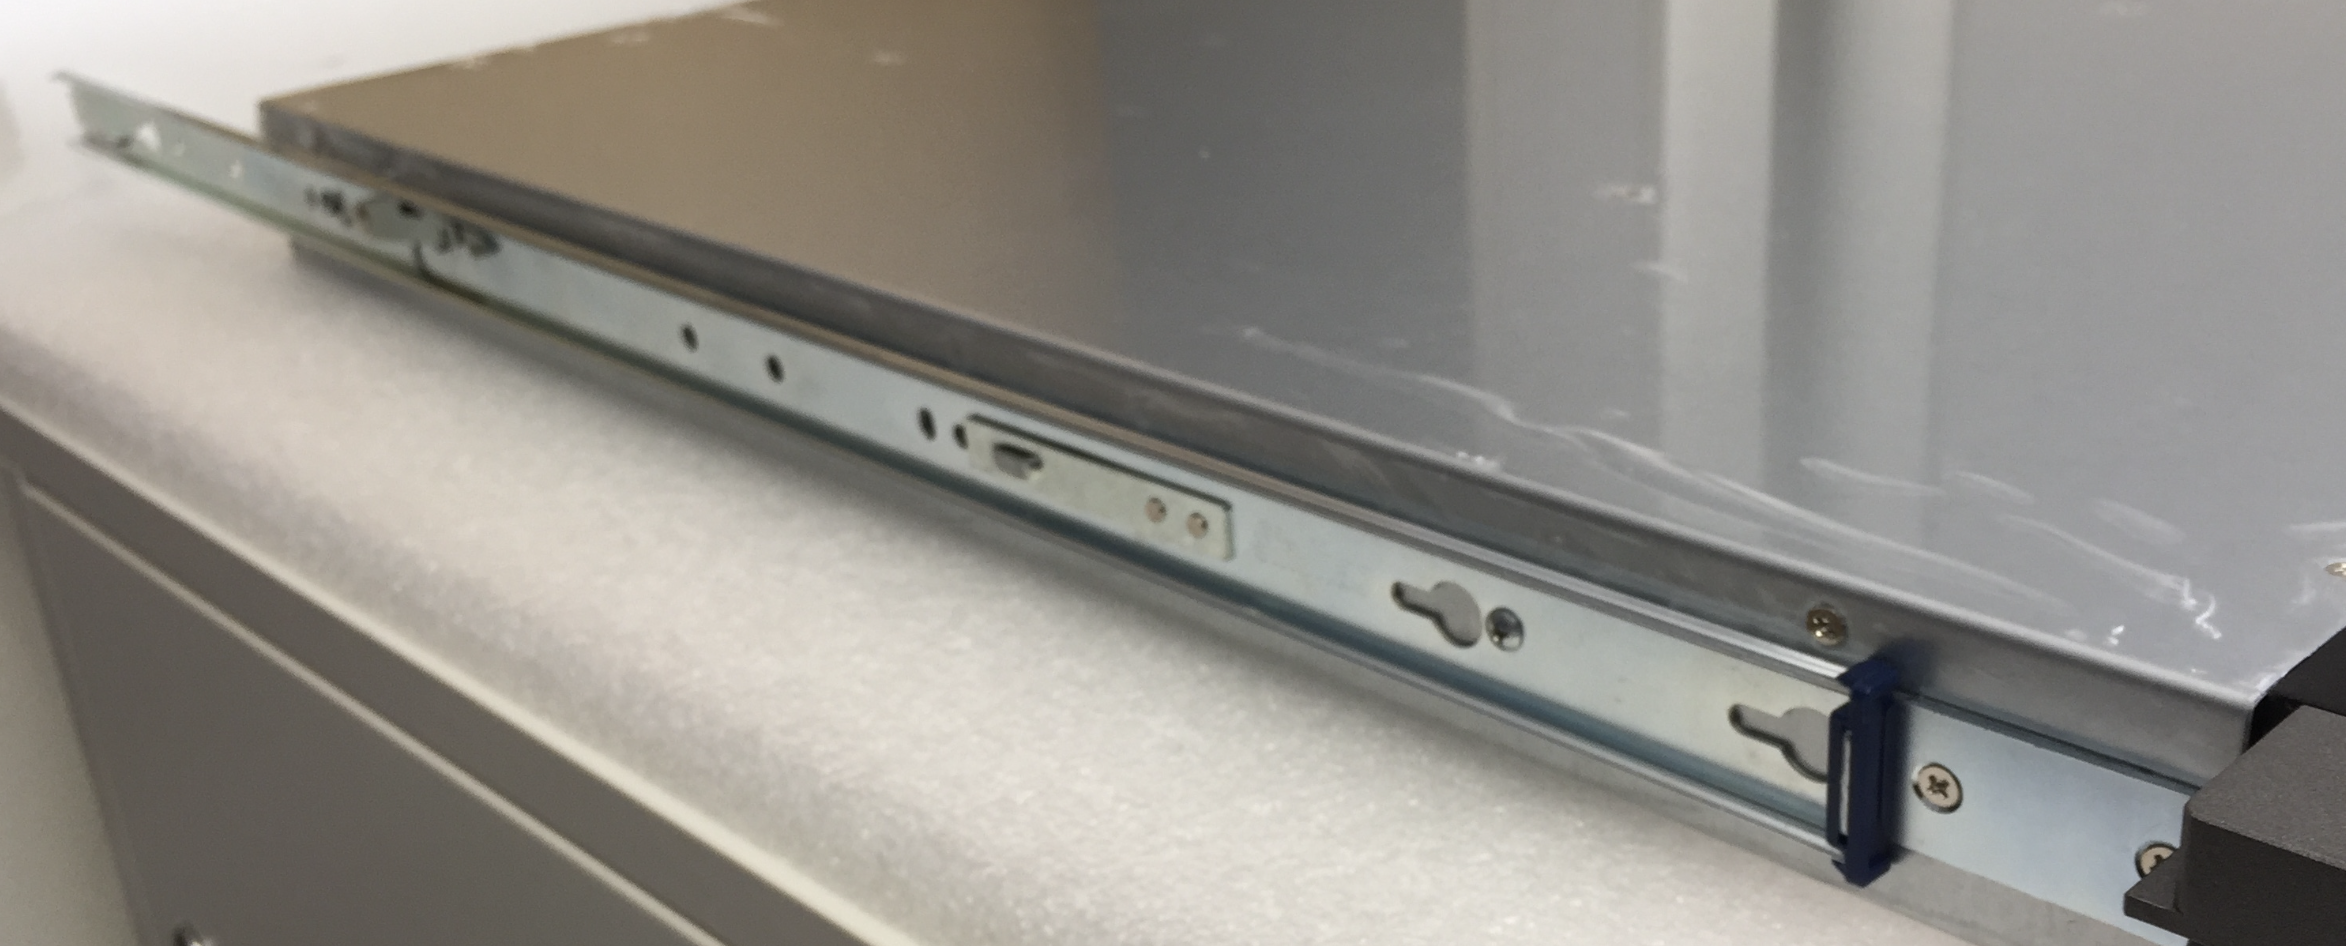
➤ Pull the inner rail out of the outer rail until the release lever (32) is visible.
Fig.: Pulling out inner rack rails
-
➤ Engage the release lever (32).
-
➤ Pull the inner rail fully out of the outer rail.
Mount inner rack rails onto the Drive
To mount the inner rack rails onto the Drive, proceed as follows:
-
➤ Position the inner rack rail on the side housing of the Drive so that the screw holes align with the rail.
-
➤ Secure the rails on both sides to the housing with one of the enclosed M4×4 screws each.
Mounting the outer rack rails in the rack
-
➤ To mount the outer rack rails in the rack, proceed as follows:
-
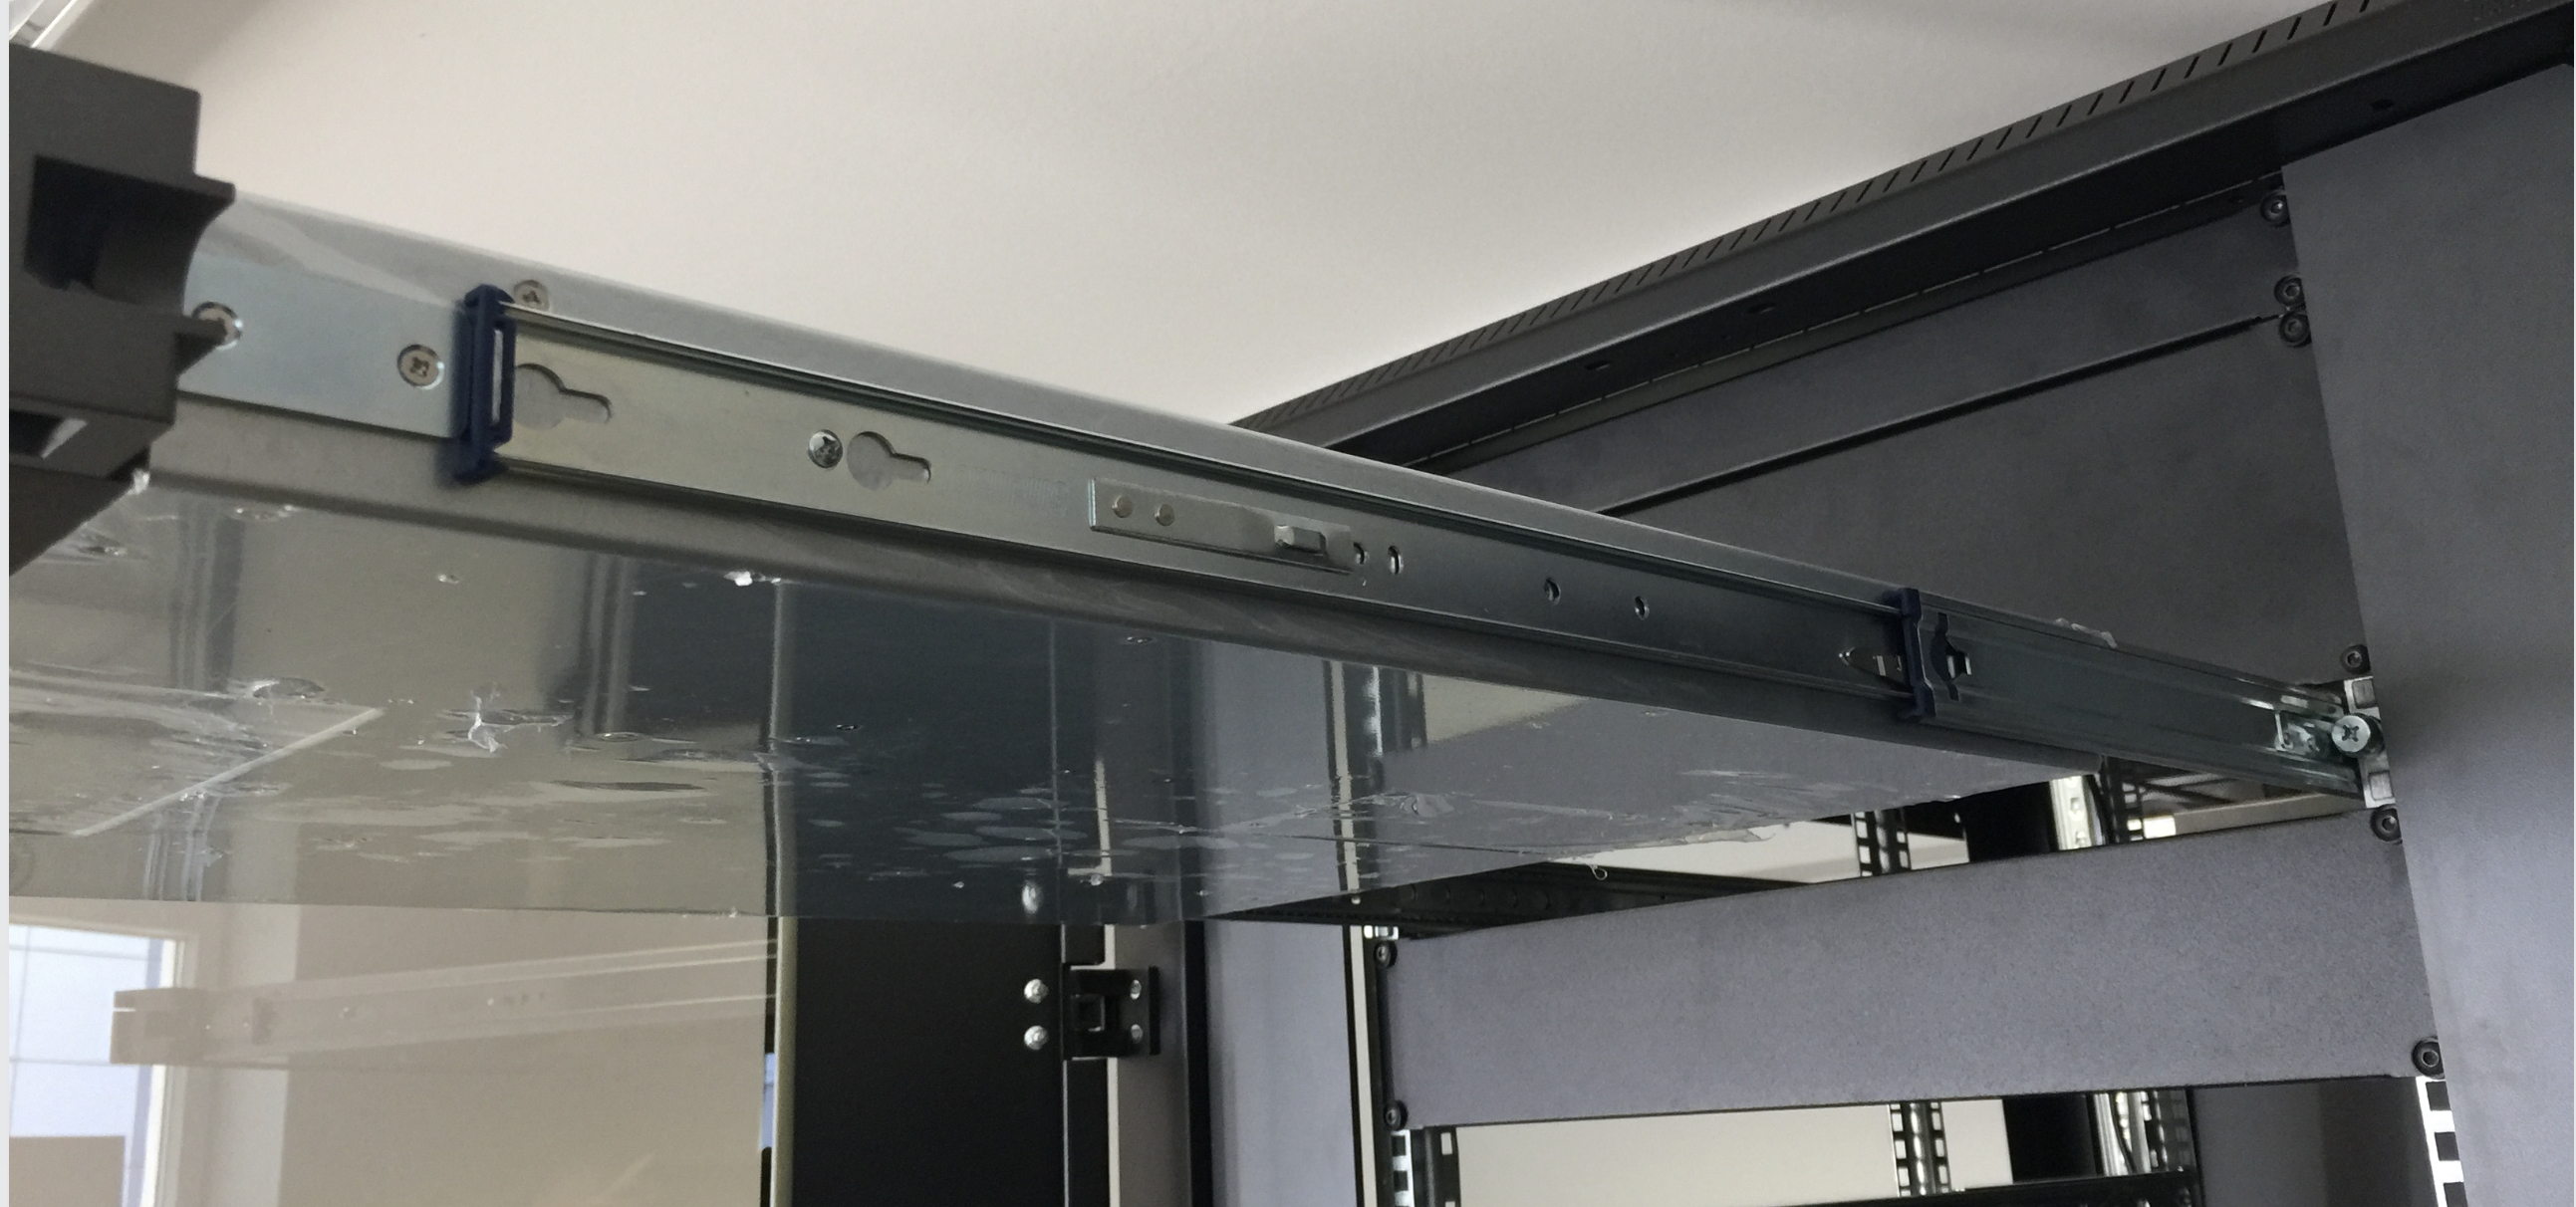
➤ Slide the security mechanism (33) of the rail backwards.
-
➤ Hook the rail into the rack.
Fig.: Security mechanism
-
➤ Release the security mechanism.
-
➤ Ensure that the rectangular locking pins are correctly anchored in the rack holes.
Fig.: Locking pins
-
➤ Screw the rack rail to the front side of the rack using the locking peg.
Fig.: Locking peg
-
➤ Fasten the rack rail at the rear of the rack using the locking screw.
Fig.: Locking screw
Insert controller/Shelf into rack
To insert a controller or a Shelf into a rack, proceed as follows:
-
➤ Pull the outer rack rails out of the rack as far as possible.
Fig.: Pulling out rack rails
-
➤ Hang the device so that the inner rack rails slide into the outer rack rails.
-
➤ Push the device into the rack until it stops.
-
➤ Operate the release lever.
-
➤ Push the device into the rack until the locking mechanism engages.